Night shift lighting and circadian rhythms for better output
Operations Team
April 18, 2026
Working nights asks people to perform precise work at the time their biology expects sleep. You cannot willpower your way through circadian biology forever. What you can do is reduce avoidable strain so the crew stays alert when it matters and can recover when they clock out.
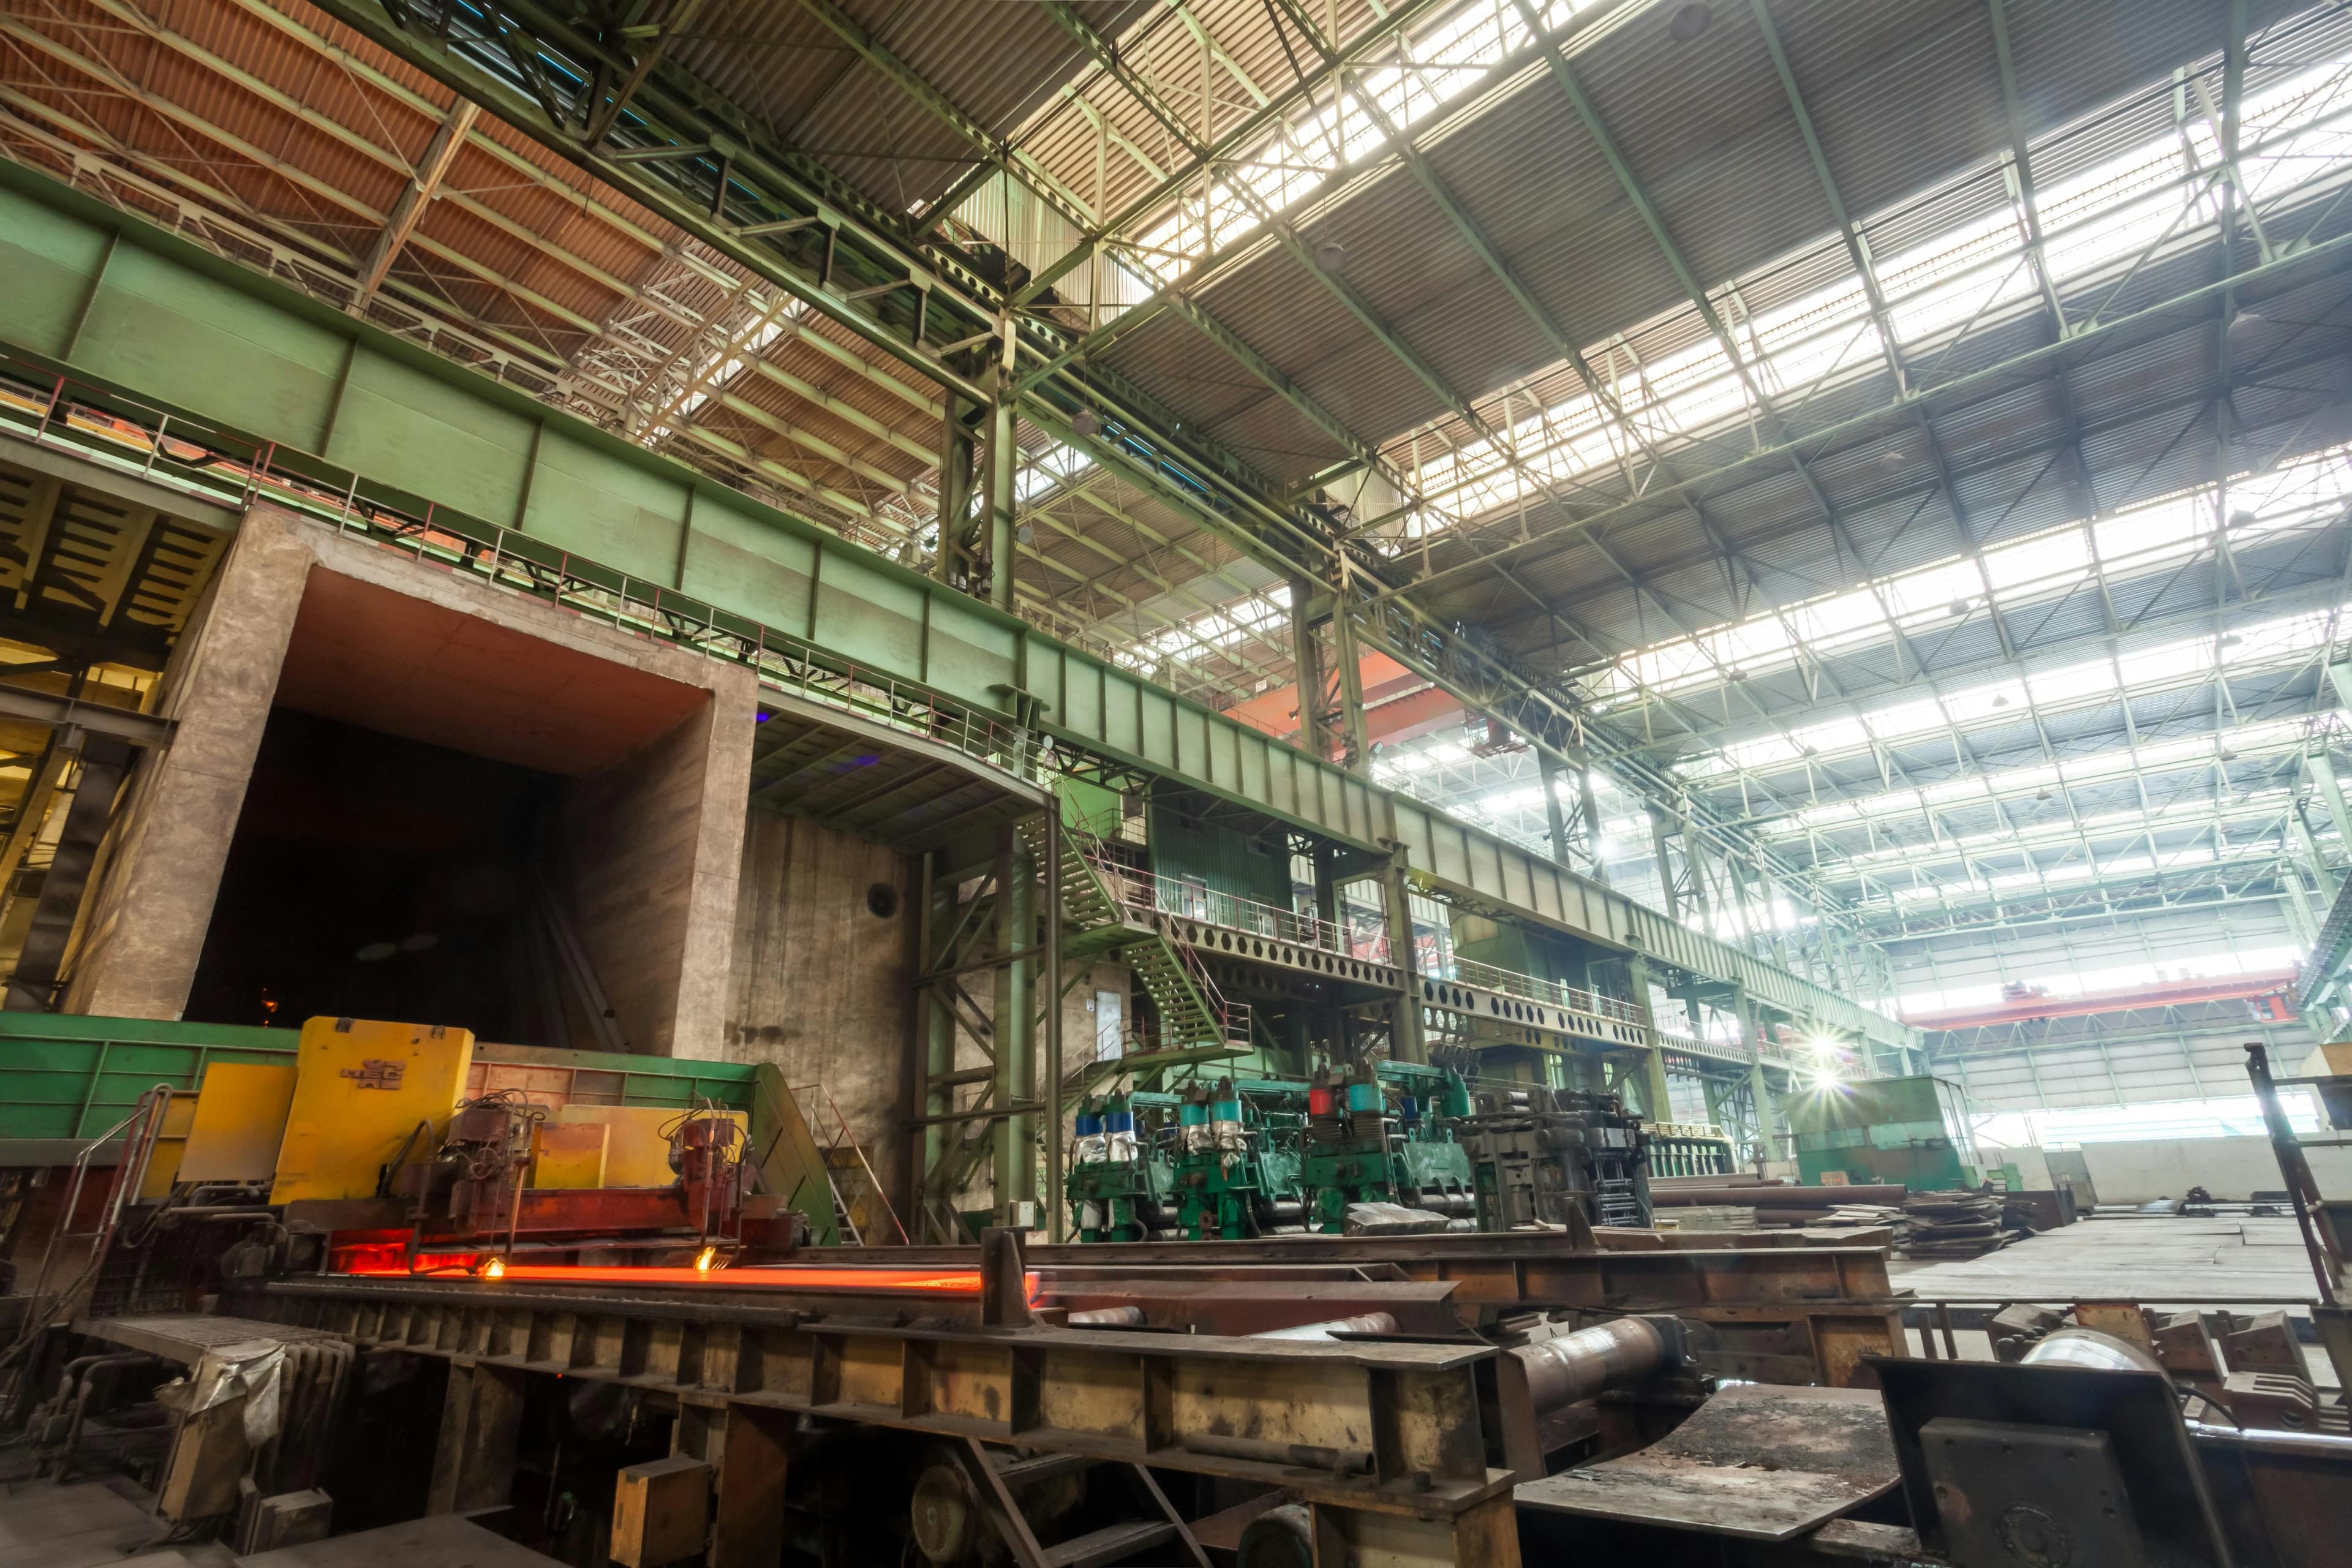
Lighting is one of the few levers you can control across the whole site. It affects alertness, eyestrain, mood, and how well people can wind down after the shift. Many plants treat lighting as a fixed utility. Night shift runs better when lighting is treated like a schedule tied to the work, the clock, and the recovery period.
This guide is a simple approach you can implement with facilities and production together. It focuses on timing, brightness, and where light goes. It also covers what not to do so you do not accidentally make sleep worse for the crew.
What lighting can and cannot fix
Lighting helps with state control. It can increase alertness early in the shift, stabilize performance through the middle, and make it easier to power down near the end. It can also reduce visual errors by improving contrast and reducing glare.
Lighting cannot fix chronic understaffing, poor job design, or unsafe shift lengths. It will not compensate for a culture that rewards skipping breaks. Treat lighting as one part of a fatigue management system.
Outcomes you should expect
A good night shift lighting schedule usually shows up in these areas
- Fewer quality escapes tied to visual inspection and rework
- Fewer near miss incidents related to attention lapses
- More stable cycle times during the last third of the shift
- Lower complaints about headaches and eyestrain
- Better on time attendance over several weeks
You should also expect pushback if the change is done without explanation. People notice lighting changes immediately. Involve leads early and communicate the purpose.
Basic circadian concepts you need for scheduling
Circadian rhythm is the internal daily timing system that influences sleepiness, alertness, and hormone release. Light is a strong cue. Bright cool spectrum light tends to push the body toward alertness. Dim warm spectrum light tends to support winding down.
You do not need a biology lecture. You do need three practical rules
- Bright light early in the shift helps performance
- Very bright light late in the shift can make daytime sleep harder
- Glare and poor uniformity cause fatigue and errors even if brightness looks high on paper
Timing matters more than perfection
Many plants chase the perfect color temperature number. The bigger win is timing. Even a basic step change in brightness and spectrum at the right time helps more than a fancy fixture that stays the same all night.
Start with an audit that matches the work
Do not start by buying fixtures. Start by mapping where visual work happens and when fatigue problems show up.
Walk the floor with three questions
- Where are the high consequence visual tasks
- Where do people complain about glare, shadows, or flicker
- Where do mistakes cluster in the last third of the shift
Bring a lead, maintenance, and a quality rep. If you have an EHS rep, bring them too.
Separate zones by purpose
Most plants need at least four lighting zones
- Production task zones where precision work happens
- Material movement zones such as aisles and forklift lanes
- Support zones such as maintenance benches and QA tables
- Recovery zones such as break rooms and locker areas
Each zone can follow a different schedule. That is how you support alertness without keeping the whole building at peak brightness all night.
Build a lighting schedule for the shift
A workable schedule has three phases
- Ramp up at the start
- Stable middle period
- Ramp down near the end
If your shift is ten hours, do not keep peak settings for all ten. You want the crew alert early, stable during the core, and able to recover after.
Phase one ramp up for the first two hours
The first two hours are where you want a clear alertness push, especially if people drive in from darker roads or come from a dim parking lot. The goal is to reduce the sluggish start period without increasing glare.
Actions that work in most plants
- Increase brightness in production task zones to the top end of your safe and comfortable range
- Use a cooler neutral white setting if you have tunable fixtures
- Reduce shadowing by balancing overhead and task lighting
If you do not have tunable fixtures, focus on brightness and uniformity. Add task lights at benches. Fix dead fixtures. Clean lenses and diffusers. Those basics often yield more improvement than any spectrum change.
Phase two stable output through the middle
This is the long middle block where the crew settles into rhythm. Keep lighting steady here. People adapt. Constant changes during core production can be distracting.
What to aim for
- Consistent brightness across the work surface
- Minimal flicker and minimal glare
- Good vertical illumination so faces and labels are easy to read
If your plant uses cameras or scanners, ensure the lighting does not create strobing artifacts. Test with the actual equipment.
Phase three ramp down for the last two hours
This is the most missed part. Many sites keep lighting at maximum until the buzzer. That keeps people alert at work but makes them wired on the drive home and restless when trying to sleep.
Ramp down does not mean unsafe dim lighting. It means a modest reduction in brightness in areas where the most precise tasks are done, and a stronger reduction in non critical areas.
Practical ramp down steps
- Reduce brightness in material movement zones only if safety allows and visibility remains high
- Shift to warmer settings if you have tunable fixtures
- Keep task lights available for precision work rather than blasting the whole area
If the last two hours include critical quality inspection, do not dim the inspection zone. Instead, manage ramp down in surrounding spaces and in break rooms so the body gets a cue that the work period is ending.
Use break rooms to support recovery without hurting safety
Break rooms are a strategic tool. You can use them to provide relief from bright light and reduce eyestrain. You can also use them to provide controlled brightness for those who feel sleepy mid shift.
Create two break room modes
If you only have one break room, you can still create two modes across time
- Mid shift mode supports alertness and social comfort
- End of shift mode supports winding down
Actions for mid shift mode
- Moderate brightness with comfortable neutral white
- Avoid harsh downlights directly over tables
- Provide options such as a brighter corner and a calmer corner
Actions for end of shift mode
- Lower brightness
- Warmer light if available
- Reduce blue rich light sources such as unshaded cool lamps
Do not turn break rooms into caves. People still need to move safely. The goal is comfort and cues, not darkness.
Reduce glare and flicker before you change spectrum
If you fix only one thing, fix glare. Glare causes squinting, headaches, and reduced contrast sensitivity. It is one of the fastest ways to increase fatigue.
Common glare sources on night shift
- Bare high bay fixtures visible from the workstation angle
- Shiny machine guards and stainless surfaces reflecting overhead
- Glossy labels and screens reflecting ceiling lights
- Wet floors reflecting bright fixtures
Fixes that usually work
- Add diffusers or change lens type where appropriate
- Adjust fixture aiming where possible
- Add local shielding for reflective surfaces
- Add task lighting so overhead brightness can be lower
Flicker is another hidden problem. Some drivers and cheap LEDs flicker at a rate that most people do not consciously see, but it still causes fatigue. If you get headaches complaints, test drivers and replace problem units.
Tie lighting to staffing and job design
Lighting schedules work best when paired with sensible job assignments. If you schedule the most monotonous tasks for the circadian low point, you will still see attention drops.
Identify your low point window
Most people hit a deep sleepiness window in the early morning hours. Your plant may see more mistakes, slower pace, and more micro breaks during that time.
Do not treat this as a discipline issue. Treat it as a planning constraint.
Actions
- Put higher engagement tasks and team based work into that window
- Increase line leader presence and quick feedback
- Use short structured movement breaks and hydration prompts
Lighting can support this window by holding a stable level and avoiding harsh changes.
Implementation steps that keep disruption low
You can implement this in phases.
Step one fix basics in two weeks
- Replace dead fixtures
- Clean lenses and diffusers
- Fix obvious glare points
- Add task lights to the top five precision stations
- Verify lighting levels are within safety requirements
Step two pilot a schedule in one area
Pick a line with stable output and an engaged lead. Set a simple schedule with only two changes
- Higher settings at shift start
- Modest ramp down near shift end
Collect feedback daily for one week and adjust.
Step three expand and standardize
Once the schedule is acceptable, expand to similar lines. Put the schedule into facilities documentation and into shift startup checklists so it does not drift.
Measuring impact without making it complicated
Do not rely only on opinions. Lighting changes feel different. You need objective indicators.
Choose a small set of metrics
- First pass yield by shift segment
- Rework tickets by hour block
- Near miss counts by shift segment
- Scrap reasons tied to visual inspection
- Attendance and call offs over eight weeks
If you can, also capture micro stoppages and minor jams. Those are often the first signals of attention strain.
Collect a baseline
Run at least two weeks of baseline data if possible. Night shift variability is high. A short baseline leads to false conclusions.
Listen to operators but structure the input
Use a simple daily check in with three prompts
- Where did lighting help today
- Where did lighting make work harder
- Any headaches, eyestrain, or glare issues
Keep it short. Do not turn it into a complaint forum. You want actionable location specific notes.
Common mistakes and how to avoid them
Making the whole building brighter
This often increases glare and makes sleep worse after work. Use zones. Use task lighting. Bright everywhere is not a schedule, it is a blunt instrument.
Changing lighting without fixing visual task setup
If labels are poor, screens are low contrast, or parts bins are messy, lighting alone will not create accuracy. Pair the lighting change with small 5S improvements at inspection and kitting points.
Ignoring day sleep and commute realities
Night shift workers often drive home in daylight and then try to sleep. If you blast bright cool light at the end of the shift, you are stacking light exposure on top of morning sunlight. That can cut sleep quality.
Support end of shift recovery
- Use ramp down in the last block
- Offer sunglasses at the gate if company policy allows
- Encourage consistent sleep routines in wellness messaging
Over tuning color temperature while leaving flicker and glare
People will still feel bad and you will not know why. Fix flicker and glare first.
A simple template you can adapt
Use this as a starting point and adjust by area risk
Production task zones
- Start of shift higher brightness and neutral to cool white
- Middle steady level
- End modest reduction and warmer setting if available
Material movement zones
- Keep safety first and steady
- Avoid harsh glare on reflective floors
- Use uniform lighting so depth perception remains strong
Break rooms and locker areas
- Mid shift comfortable moderate settings
- End of shift warmer and lower settings to support winding down
Getting buy in from the crew
Night shift teams have seen many initiatives that create work without benefits. Treat this like a safety and quality program with operator input.
What to say
- The goal is fewer mistakes and less fatigue
- The schedule is a pilot and will be adjusted based on feedback
- Safety and visibility remain non negotiable
What to do
- Invite two operators to the walk through
- Share the schedule in plain language
- Post a simple map of zones and what changes when
When people understand the intent and see that feedback changes the setup, compliance improves and skepticism drops.
Final checklist before you call it done
- Lighting levels meet safety requirements in every zone
- No new glare sources were introduced
- Flicker risk is evaluated for drivers and fixtures
- Task lighting exists at precision stations
- Ramp down exists in the last block without reducing safety
- Break rooms support both comfort and recovery
- Metrics show stable or improved quality and safety trends
Night shift does not need to feel like survival mode. A practical lighting schedule is one of the fastest ways to reduce fatigue load and stabilize performance without adding headcount or pushing people harder.